How to repair damaged roof Shingles
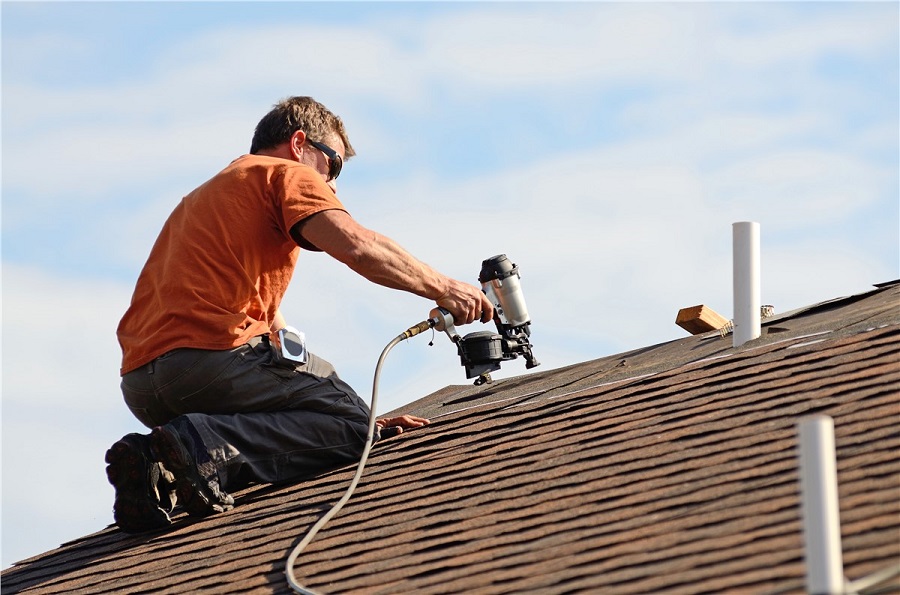
We share bit by bit directions for the three most normal black-top shingle repairs. Keeping a sound roof in a real sense best the rundown of essential home repairs: It keeps you and your family warm and dry, alongside everything in your home. Another roof is an expensive suggestion. These straightforward repairs can keep your current roof sound for quite a long time to come.
How Often Should You Replace Your Roof Shingles?
Any harm or indications of wear call for a surefire activity to shield water from leaking under the shingles and spoiling the wood sheathing underneath. Disregarding an issue—even what has all the earmarks of being a little one—will quicken the need to reroof and can add many dollars to the expense of another roof.
On the off chance that your roof is over 20 years of age and the greater part of the shingles are harmed or seriously worn, it's an ideal opportunity to supplant it. However, in the event that your roof is fundamentally solid and is at a generally shallow pitch that you're happy with chipping away at, you can deal with most Roof Leak Repair Newmarket, Ontario the best company for roof repairs.
Here, we'll take you through the three most-regular ones: supplanting black-top shingles; sticking down a gravely twisted shingle, and repairing shingles that have broken.
1. Supplanting Roof Shingles
On the off chance that a piece of a shingle is missing, you'll need to supplant the entire thing. First check whether you have any extra shingles from the last time the roof was chipped away at (with any karma, the manufacturer or the roofer who took care of the occupation abandoned a few). If not, you'll need to purchase a group at a home community or lumberyard ($15 to $20 per square—100 sq. ft.— of standard three-tab shingles). On the off chance that you can't locate an ideal match, pick the nearest one.
Supplanting a harmed shingle requires a sled, a level pry bar, a utility blade, and a modest bunch of 11/4-in. roofing nails. Each shingle is at first made sure about with four nails; when the following shingle course above is introduced, nonetheless, its nails likewise go through the top edge of the shingles in the course underneath.
Start eliminating the primary column of nails by sliding the pry bar under the shingle quickly over the harmed one and tenderly lifting it to liberate it from the sealer strip. You'll see the primary line of nails underneath.
Slip the pry bar under the harmed shingle and pry upward. When the nail springs up around 1/4 in., eliminate the pry bar, press the shingle down and pull out the nail. Rehash this technique for the leftover three nails. At that point push the pry bar under the shingle straightforwardly over the harmed one and eliminate the second column of nails a similar way. In the wake of yanking each of the eight nails, pull out the harmed shingle.
2. Fix Curled Roof Shingle Corners with Caulking
As black-top shingles get more established, their corners frequently start to twist descending or upward. In the event that you notice a shingle beginning to twist, you can hinder the unavoidable twisting by sticking down the twisted segment.
Utilize a caulking weapon to apply a touch of roofing sealant (about $4 per 10-oz. tube) under the corner. Burden it with a block (right); leave the weight set up for at any rate 24 hours until the sealant dries. It's just as simple as that.
3. Broken Roof Shingles Repair
On the off chance that a shingle is basically broken or torn, you don't need to supplant it—simply repair it. Start by applying a thick dot of roofing sealant under the break. Press the shingle down and apply a second dab of sealant on top of the break. At that point spread the sealant with a clay blade.
The best piece of this fix is that nobody needs to realize you made it. It's anything but difficult to disguise: Check the canal for a gathering of shaded granules that have washed down the roof from the shingles. At that point accumulate some into a little cup and sprinkle them over the sealant to cover the repair.